Your First Project
Understand the organization, workspace, and project hierarchy, then create your first project and add markups.
Sitemarks organizes your work into a three-level hierarchy: Organizations, Workspaces, and Projects. Understanding this structure will help you keep feedback organized as your team and client list grow.
The hierarchy
Organization
An organization is the top-level account that owns everything — members, billing, integrations, and all the content underneath it. Most teams have a single organization representing their company. You created one during sign-up.
Workspace
Workspaces sit inside an organization. They are a flexible grouping layer — use them however makes sense for your team. Common patterns include:
- One workspace per client (agency model)
- One workspace per department (design, engineering, marketing)
- One workspace per product (if your company ships multiple products)
Project
A project lives inside a workspace and contains your markups — the actual assets your team reviews and annotates. Each project has its own set of markups, labels, and share links.
Think of it like folders
Organization is the root, workspaces are top-level folders, and projects are subfolders that hold your files. You can restructure at any time without losing annotations or comments.
Create a workspace
If you do not already have a workspace, create one before adding a project:
Open the Projects page
Click Projects in the sidebar. This is where all your workspaces and projects are listed.
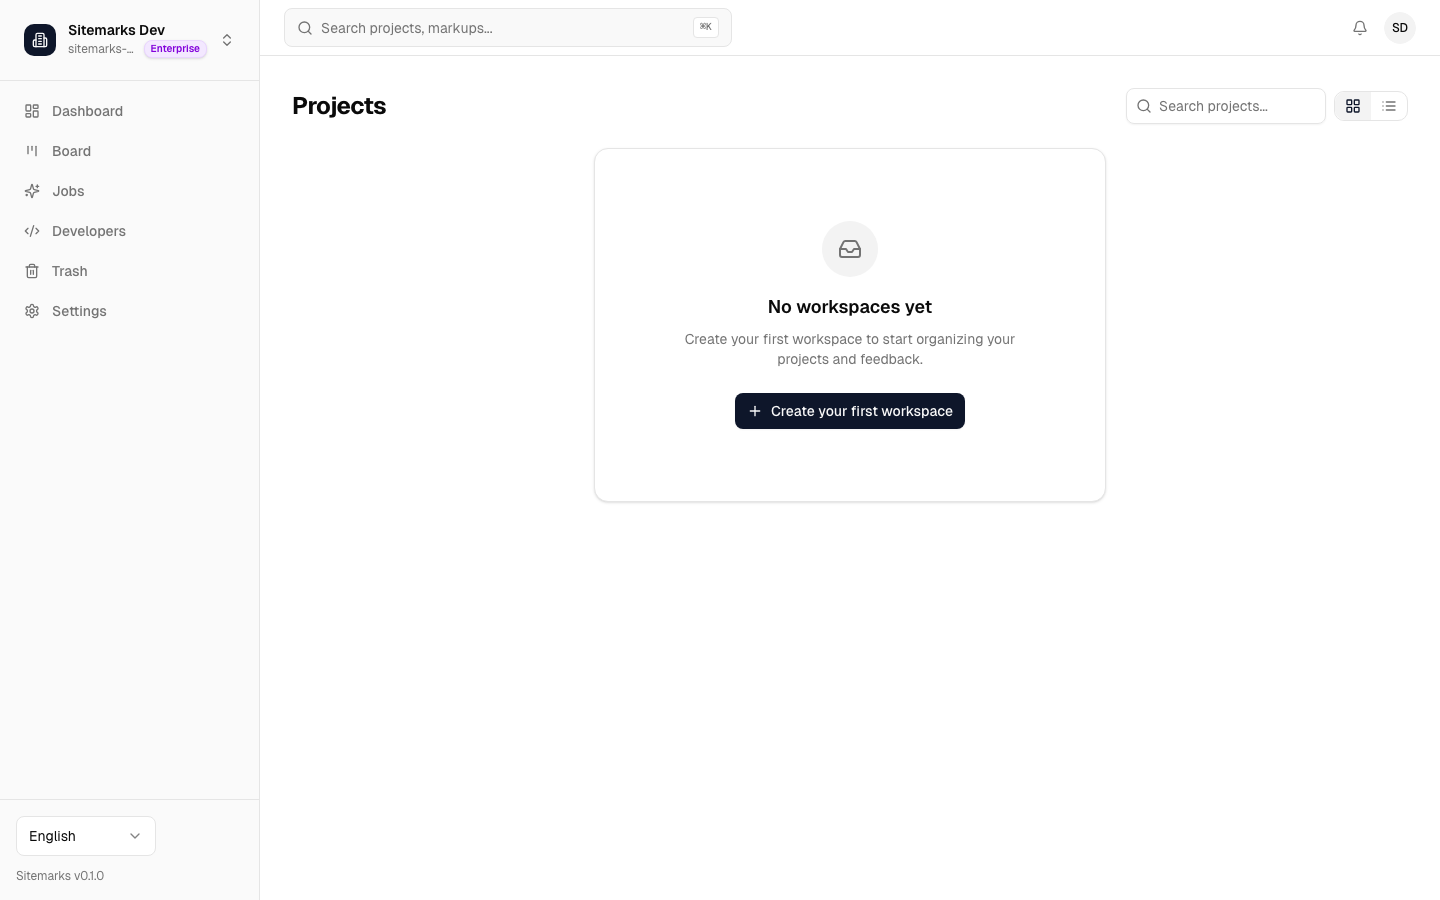
Create a new workspace
Click the New Workspace button, give it a descriptive name, and confirm. The workspace appears in the sidebar and on the Projects page immediately.
Create a project
With a workspace in place, you are ready to create your first project.
Click New Project
From the Projects page, click New Project. Choose the workspace it should belong to (or create a new one inline), give the project a name, and optionally add a description.
Add your first markup
Once the project is created, you can start adding markups. A markup is the asset your team will review. Sitemarks supports four markup types:
| Type | What it is | How to add it | |------|-----------|---------------| | Website | A live URL that Sitemarks captures and proxies for annotation. | Paste a URL and Sitemarks loads the page. | | Image | A PNG, JPG, WebP, or SVG file. | Drag and drop or click to upload. | | PDF | A multi-page document. | Upload a PDF file; each page becomes annotatable. | | Video | An MP4 or WebM file. | Upload a video; annotate at specific timestamps. |
Start annotating
Open your markup and click anywhere on the canvas to drop a pin. Type your feedback, tag a team member, and hit submit. Your annotation is saved in real time and visible to everyone with access to the project.
Website markups are powerful
When you add a website URL, Sitemarks creates a browsable snapshot. Reviewers can click through pages, and annotations stay pinned to the exact element they were placed on — even if the layout shifts between screen sizes.
Storage limits
Every organization has a storage quota that applies to uploaded images, PDFs, and videos. Website markups consume minimal storage since they are proxied rather than stored.
| Plan | Projects | Members | Storage | |------|----------|---------|---------| | Free | 3 | 2 | 1 GB | | Pro | Unlimited | Unlimited | 50 GB | | Enterprise | Unlimited | Unlimited | Unlimited |
You can check your current usage in Settings > Billing. If you approach your limit, Sitemarks will notify you before uploads are blocked.
Approaching your limit?
Consider removing unused markups or upgrading your plan. Deleting a markup permanently frees the storage it consumed.
Next steps
Your project is live and ready for feedback. Here are some things to explore next:
- Inviting Team Members — add collaborators to your organization so they can annotate and comment.
- Integrations — route annotations to Slack, GitHub Issues, Linear, and other tools your team already uses.
- Share Links — let external stakeholders leave feedback without creating an account.
- Quick Start — revisit the overview if you need a refresher.