Quick Start
Get up and running with Sitemarks in under five minutes.
Welcome to Sitemarks — the visual feedback and annotation platform that helps teams review websites, images, PDFs, and videos in one place. This guide walks you through the essentials so you can start collecting feedback in minutes.
What you'll need
An email address (or a Google/GitHub account) and a modern browser. That's it.
Overview
Here is what we will cover:
- Create your account
- Set up your organization
- Explore the dashboard
- Create your first project
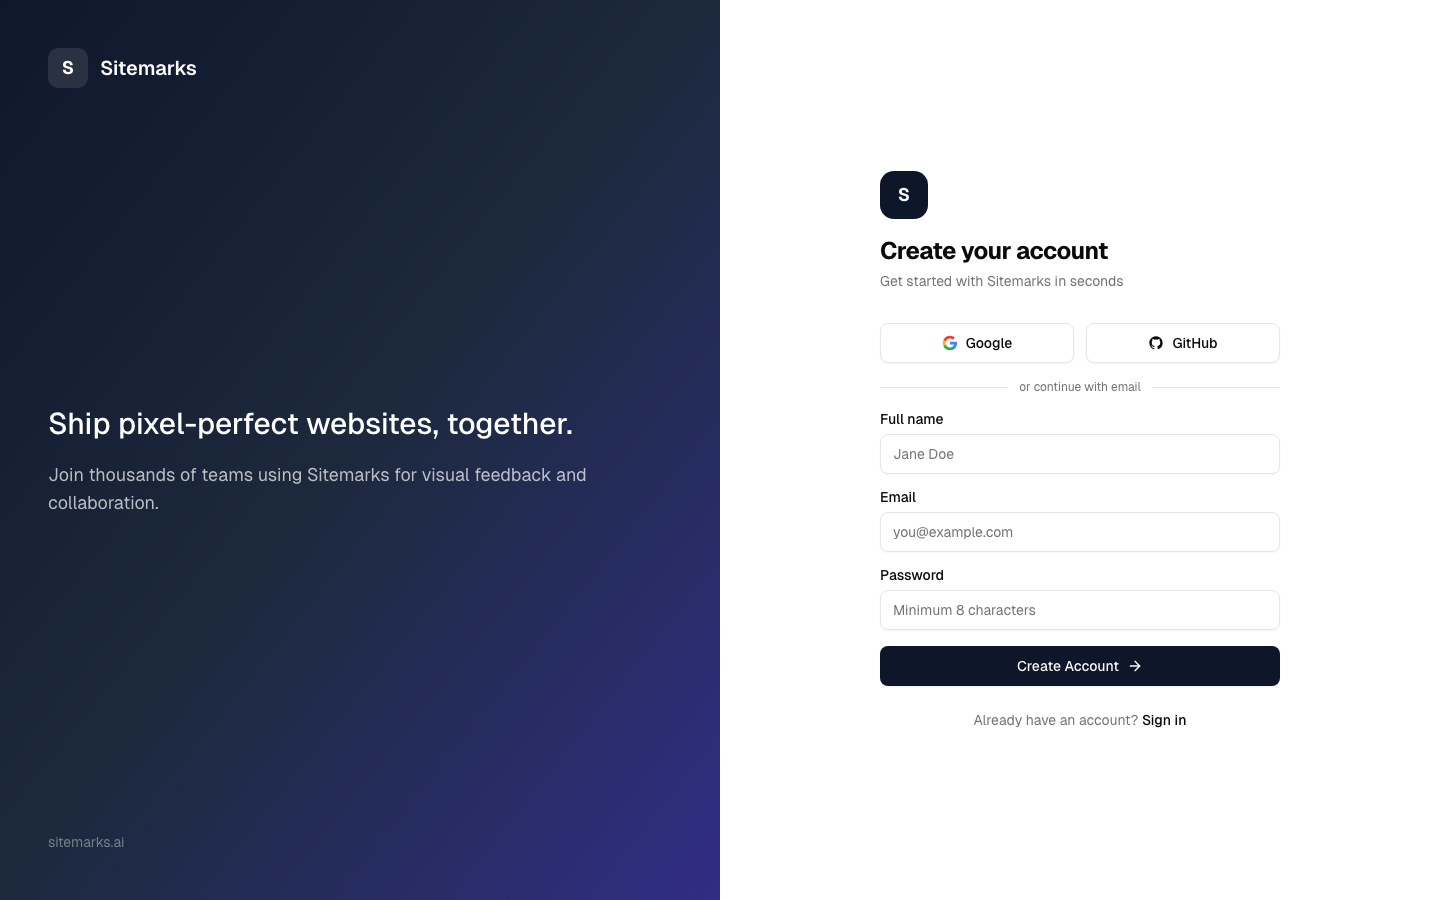
Create your account
Head to sitemarks.ai/sign-up and choose one of three sign-up methods:
- Email and password — enter your details and verify your email.
- Google OAuth — sign in with your Google account in one click.
- GitHub OAuth — great for developer-heavy teams.
For the full details on account creation, password requirements, and two-factor authentication, see the Creating an Account guide.
Set up your organization
After signing up you will land on the organization setup screen. Every Sitemarks account belongs to at least one organization, which is the top-level container for all your team's work.
Give your organization a name — typically your company or team name — and invite collaborators if you are ready. You can always add members later from the Settings page.
Free tier included
The free plan gives you up to 3 projects, 2 team members, and 1 GB of storage. Upgrade to Pro or Enterprise whenever you need more.
Explore the dashboard
Once your organization is set up, you will arrive at the dashboard. This is your home base — it gives you a high-level view of recent activity, open annotations, and quick links to your projects.
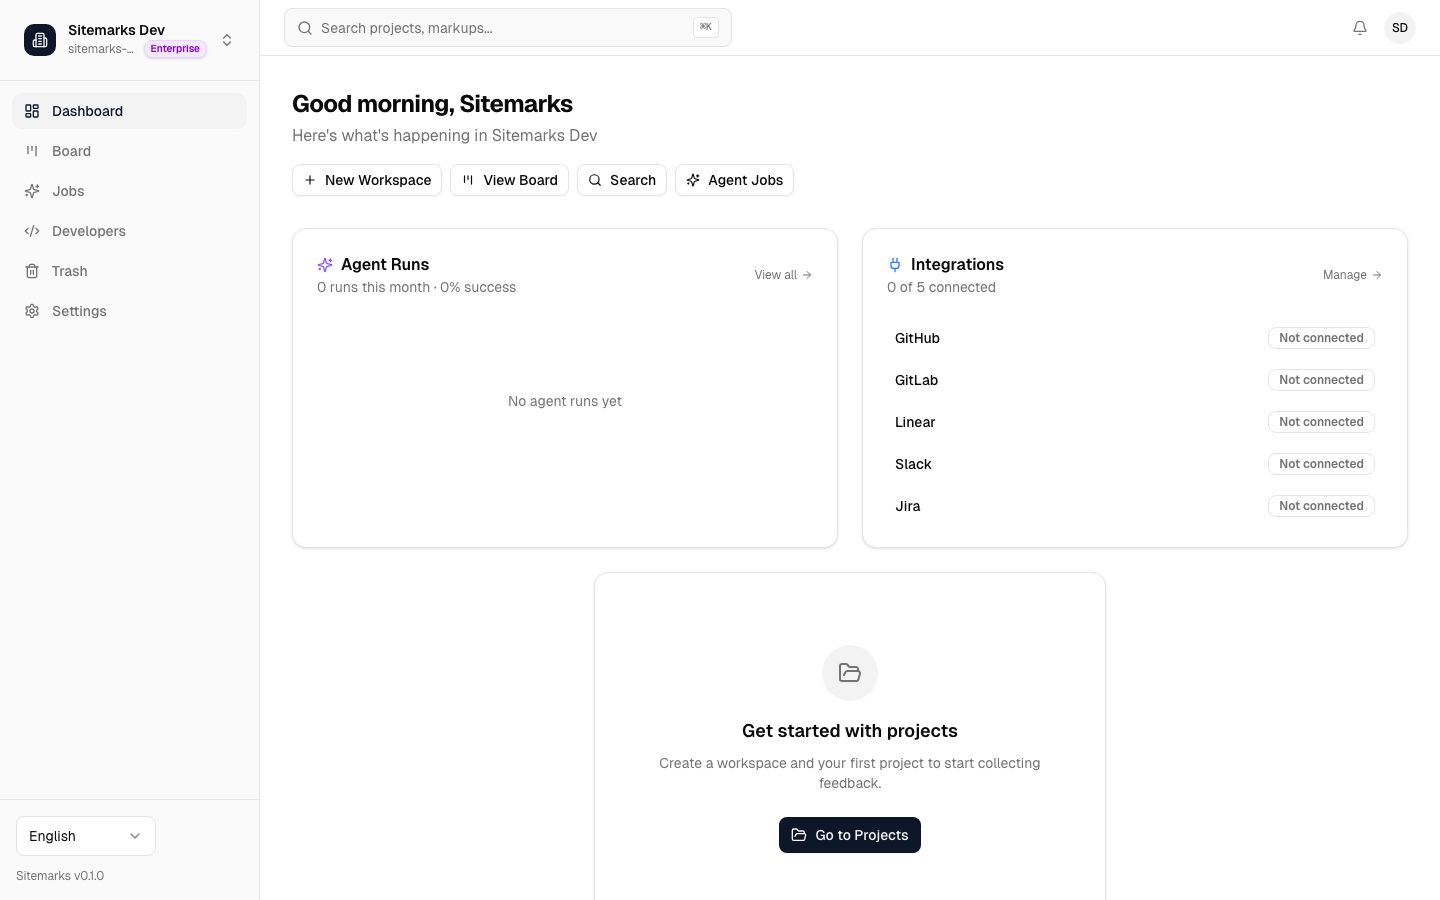
Take a moment to look around. The sidebar on the left gives you access to:
- Projects — where your markups live, organized into workspaces.
- Settings — manage your organization, members, billing, and integrations.
- Notifications — stay on top of comments and status changes.
Create your first project
Navigate to the Projects page from the sidebar. Projects are grouped inside workspaces, which let you organize work by client, department, or however your team thinks.
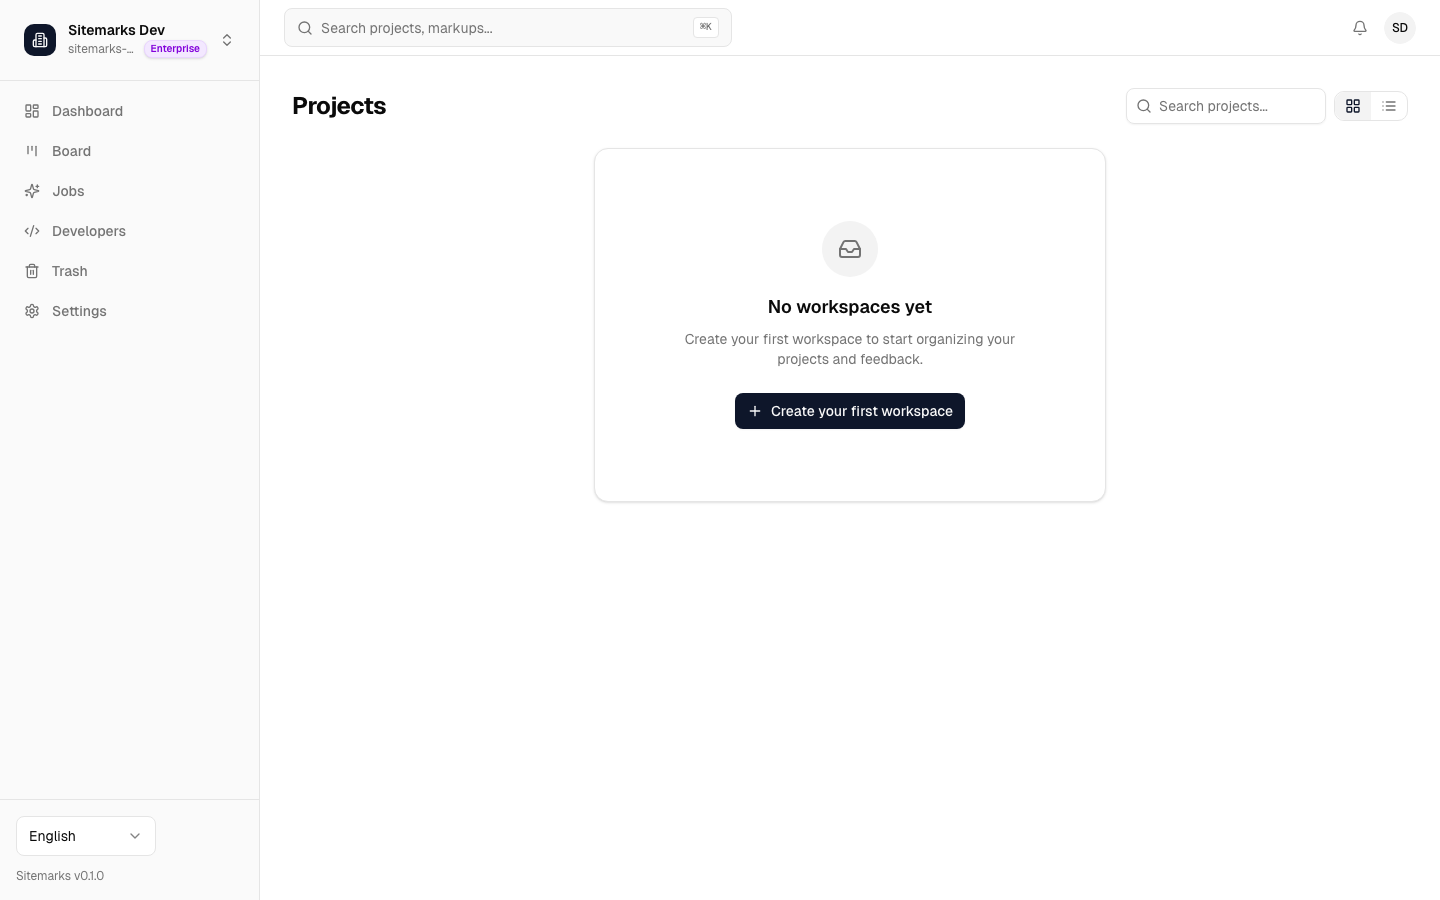
Click New Project, give it a name, and choose a workspace (or create one on the fly). Once the project exists you can start adding markups — upload a screenshot, paste a URL, drag in a PDF, or add a video.
For a deeper walkthrough of the project hierarchy and markup types, head to Your First Project.
Next steps
You are all set with the basics. Here are a few things to explore next:
- Creating an Account — detailed sign-up, sign-in, and security options.
- Your First Project — learn about workspaces, markup types, and storage limits.
- Inviting Team Members — bring your collaborators on board.
- Integrations — connect Sitemarks to Slack, GitHub, Linear, and more.
If you run into any issues, reach out to our support team at support@sitemarks.ai. We are happy to help.