SSO & SCIM
Set up single sign-on and automated user provisioning for your organization.
Single sign-on (SSO) and SCIM provisioning are available on the Enterprise plan. These features let you centralize authentication through your identity provider and automate user lifecycle management.
Enterprise only
SSO and SCIM are exclusive to the Enterprise plan. If you are on a Free or Pro plan, upgrade from the Billing page to access these features.
Single Sign-On (SSO)
Sitemarks supports SSO via SAML 2.0 and OpenID Connect (OIDC). SSO allows your team members to authenticate using your organization's identity provider (IdP), such as Okta, Azure AD, Google Workspace, or OneLogin.
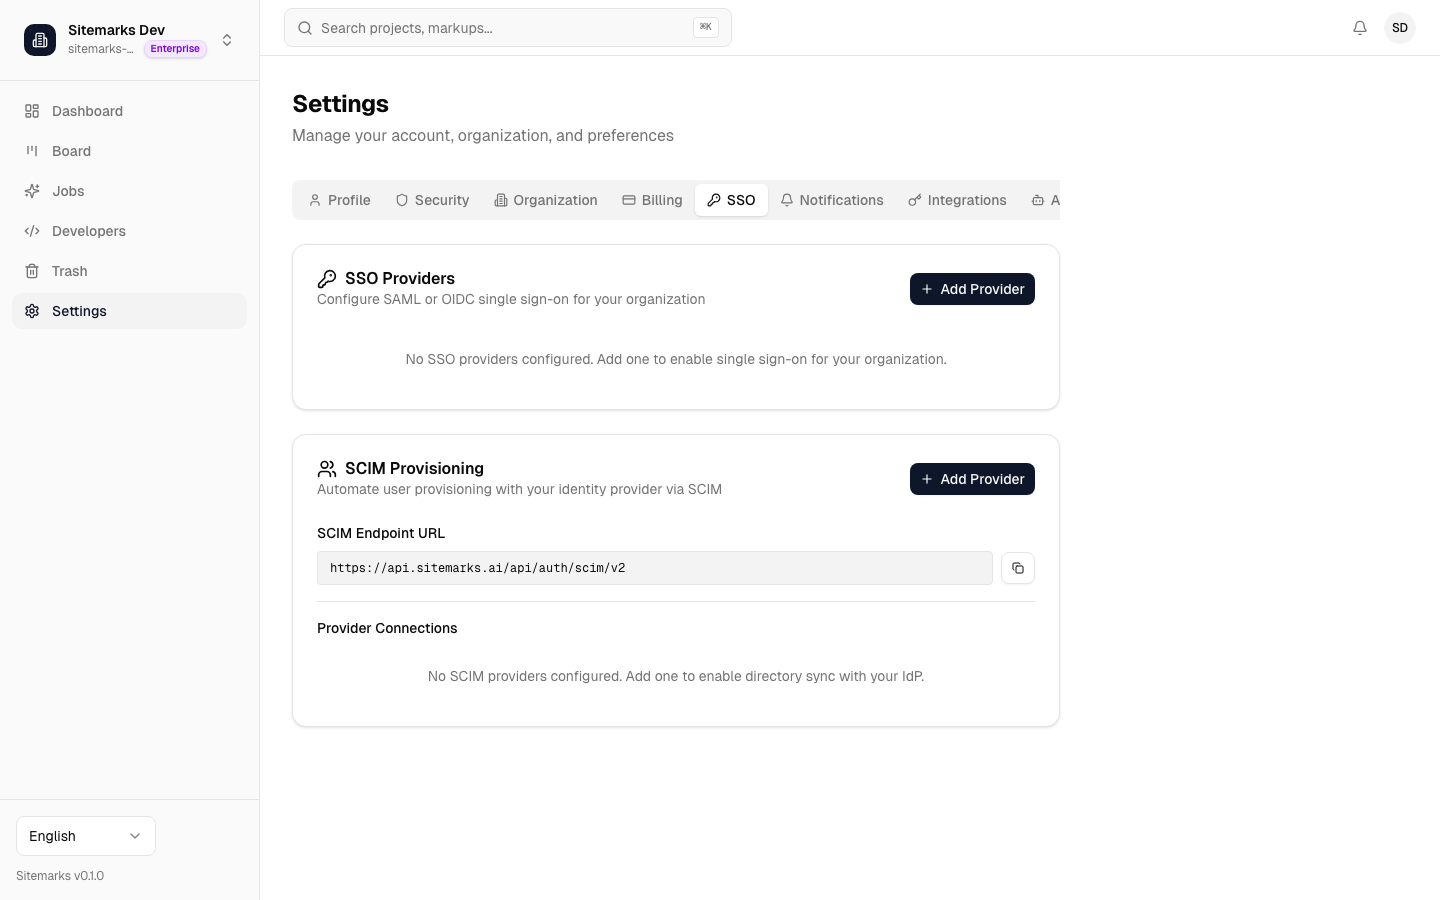
Setting Up SSO
- Navigate to Settings and open the SSO tab.
- Click Configure SSO.
- Select your protocol — SAML 2.0 or OIDC.
- Enter the required configuration from your identity provider:
- SAML 2.0 — Entity ID, SSO URL, and X.509 certificate.
- OIDC — Issuer URL, Client ID, and Client Secret.
- Click Save Configuration.
- Use the Test Connection button to verify the setup before enforcing SSO for your organization.
Service provider details
When configuring your identity provider, use the service provider details shown on the SSO setup page. This includes the URLs and identifiers your IdP needs to complete the integration.
SSO Enforcement
Once SSO is configured and tested, Owners can choose to enforce SSO for the entire organization. When enforcement is enabled:
- All members must sign in through the configured identity provider.
- Email/password and OAuth sign-in methods are disabled for non-Owner accounts.
- Organization Owners retain the ability to sign in with email/password as a fallback, ensuring access is never fully locked out.
Before enforcing SSO
Verify that all current members have accounts in your identity provider. Members who cannot authenticate through SSO will be locked out of the organization once enforcement is enabled.
SCIM Provisioning
SCIM (System for Cross-domain Identity Management) automates user provisioning and deprovisioning. When connected to your identity provider, SCIM keeps your Sitemarks organization membership in sync with your IdP directory.
What SCIM Handles
- Automatic member creation — when you assign a user to Sitemarks in your identity provider, they are automatically added to your organization with the right role.
- Automatic removal — when you remove a user from Sitemarks in your identity provider, their access is revoked immediately.
- Permission sync — role changes in your identity provider are automatically reflected in Sitemarks.
Setting Up SCIM
- On the SSO settings page, locate the SCIM Provisioning section.
- Click Enable SCIM to generate a SCIM endpoint URL and bearer token.
- Enter the endpoint URL and token in your identity provider's SCIM configuration.
- Tell your identity provider how to map user information (email, display name, role) to Sitemarks.
Keep your SCIM token secure
The SCIM bearer token provides write access to your organization's membership. Treat it like a password — do not share it or commit it to version control. You can regenerate the token at any time, but doing so will invalidate the previous token.
Role Mapping
Map your identity provider groups to Sitemarks roles on the SCIM configuration page. The default mapping assigns new users the Member role unless a specific mapping is defined.
| IdP Group Example | Sitemarks Role | |---|---| | sitemarks-admins | Admin | | sitemarks-members | Member | | sitemarks-viewers | Viewer |
For questions about SSO or SCIM configuration, contact our support team at support@sitemarks.ai.